Construction may be finished, but the cleanup is not. Fine dust settles inside cabinets, along baseboards, on ceiling fans, and deep within carpet fibers long after the crew leaves. This post renovation dust cleaning guide explains how to clean the right way, protect your indoor air, and avoid spreading debris back through your home or business.
Renovation dust is different from everyday household dust. Drywall compound, sawdust, grout haze, insulation particles, and paint residue can be extremely fine. A quick sweep or an ordinary vacuum pass may move those particles around rather than remove them. A patient, top-to-bottom process makes a visible difference and helps make the space more comfortable to use.
Start Only When the Work Area Is Truly Ready
Before cleaning, confirm that contractors have removed tools, scrap material, protective coverings, and loose debris. Any remaining cutting, sanding, drilling, or touch-up work will create a new layer of dust. It is frustrating to deep-clean a room only to repeat the process the next day.
Open windows if weather and security allow, but do not rely on open windows as your only ventilation plan. Outdoor pollen, humidity, or traffic pollution can work against you. If your HVAC system was running during construction, replace the filter before turning it back on for regular use. In larger projects, the system may need professional attention because renovation dust can collect in return vents and ductwork.
Wear gloves and a properly fitted dust mask while cleaning, especially when working with older materials, drywall dust, or heavy debris. Keep children, pets, and anyone with respiratory sensitivities out of the area until the initial cleanup is complete.
Gather Tools That Capture Dust Instead of Spreading It
The best post renovation dust cleaning approach is controlled and methodical. Start with a vacuum equipped with a HEPA filter, clean microfiber cloths, microfiber mop pads, a bucket, a mild surface-safe cleaner, and a soft brush attachment for detailed work.
Avoid dry sweeping fine dust with a standard broom. It pushes particles into the air and into nearby rooms. Also avoid soaking unfinished wood, fresh grout, unsealed stone, or recently painted surfaces. These materials may need additional cure time or a manufacturer-approved cleaning method.
For heavy dust, keep multiple microfiber cloths and mop pads on hand. Once a cloth is loaded with debris, it stops picking up effectively. Changing cloths often is faster and cleaner than repeatedly wiping with the same dusty one.
Clean From High Surfaces to Low Surfaces
Dust falls downward, so the order of work matters. Begin at the highest point in the room and work toward the floor. This prevents you from recontaminating areas that are already clean.
Address ceilings, vents, and light fixtures first
Use a vacuum with a soft brush attachment to remove dust from ceiling corners, crown molding, exposed beams, smoke detectors, recessed lighting trim, vents, and fan blades. Do not use excessive pressure around delicate fixtures or newly installed finishes.
A lightly damp microfiber cloth can follow the vacuum pass on washable surfaces. The goal is to capture remaining particles, not leave moisture behind. For textured ceilings or areas that cannot be wiped safely, careful HEPA vacuuming is usually the better choice.
Wipe walls, trim, doors, and cabinets
Walls often look clean after painting, yet they can hold a fine layer of sanding dust. Test a small area first, particularly on flat paint, wallpaper, or specialty finishes. Use a barely damp microfiber cloth and gentle, overlapping strokes rather than aggressive scrubbing.
Pay close attention to door frames, window sills, baseboards, cabinet tops, shelving, and the inside of drawers. These horizontal surfaces collect more dust than most people expect. If cabinets were installed or refinished during the project, wipe interiors and shelves before placing dishes, linens, or food inside.
Finish with counters, appliances, and floors
Clean countertops and hard surfaces after upper areas are complete. Use a cleaner that matches the material. Natural stone, quartz, stainless steel, wood, and tile may all have different care needs, and the wrong product can leave streaks or dull a new finish.
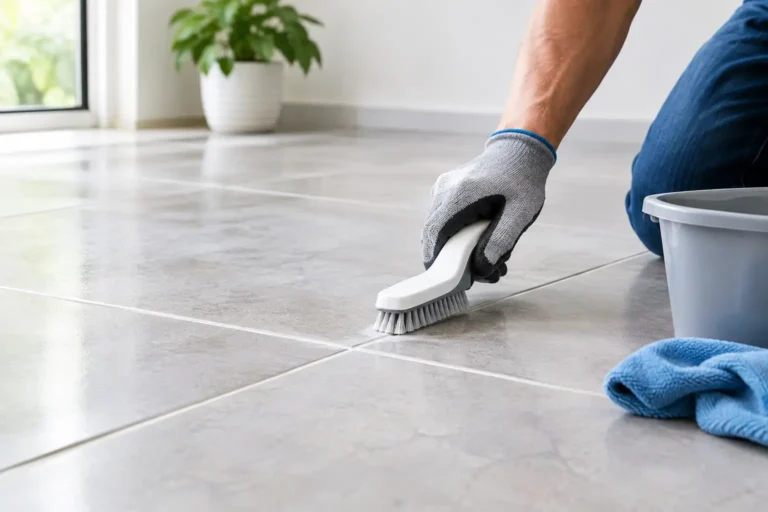
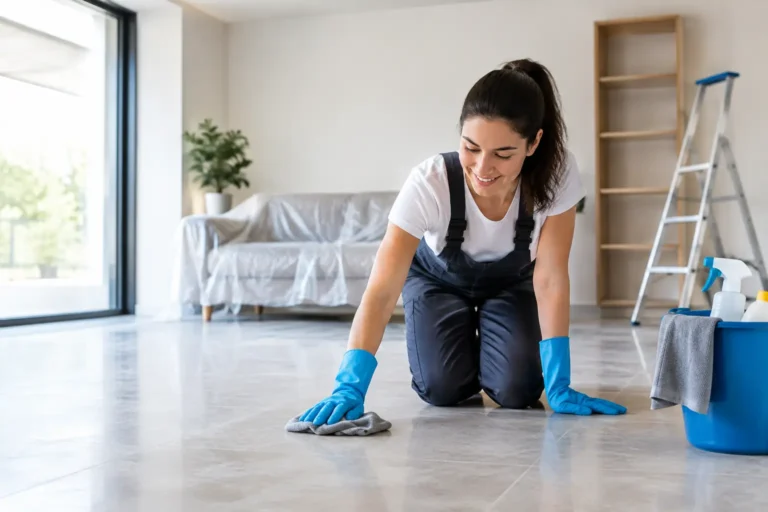
Vacuum floors thoroughly before mopping. Move slowly, using attachments along edges, transitions, and under fixed furniture where dust gathers. For hard floors, follow with a damp microfiber mop using minimal water. Carpeted rooms may require several slow HEPA vacuum passes in different directions to lift embedded dust from the pile.
Do Not Forget the Areas Dust Hides
The details often determine whether a renovated room feels truly clean. Dust has a way of collecting in places that are overlooked during a rushed final wipe-down.
Check these frequently missed areas:
- Window tracks, screens, blinds, and curtain rods
- Closet shelves, hanging rods, and drawer interiors
- Electrical outlet covers, switch plates, and thermostat covers
- Behind toilets, under sinks, and inside vanity cabinets
- Refrigerator tops, appliance sides, and HVAC return grilles
- Upholstered furniture, mattresses, rugs, and drapery near the work area
Use a vacuum crevice tool or a soft brush for narrow gaps. When cleaning switches and outlets, turn off power if needed and use only a dry or barely damp cloth. Never spray cleaner directly onto electrical components.
Protect Indoor Air After the Cleanup
A room can look spotless while fine particles remain in the air or inside the HVAC system. That is why post-renovation cleaning should include an indoor air quality check, especially after a kitchen remodel, basement finishing project, flooring replacement, or extensive drywall work.
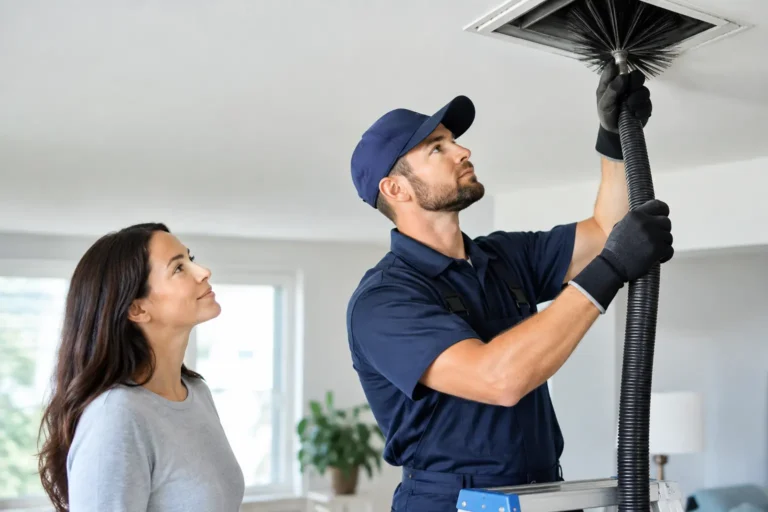
Replace HVAC filters again after the first major cleaning cycle if the project created substantial dust. Keep supply and return vents clear, and inspect them for visible debris. If dust blows from vents when the system starts, if you notice a persistent stale smell, or if household members are coughing or experiencing increased allergy symptoms, professional air duct cleaning may be a practical next step.
Carpets, area rugs, upholstery, and drapery can also hold construction dust. Vacuuming helps, but deep cleaning may be appropriate when fabrics were exposed throughout the renovation. This is particularly useful in occupied homes, rental turnovers, offices, waiting rooms, and customer-facing spaces where clean air and a polished appearance both matter.
Know When Professional Post-Renovation Cleaning Is Worth It
A small bathroom refresh may be manageable with time, the right equipment, and a careful process. A whole-home renovation, commercial build-out, or project involving extensive sanding is a different job. The size of the space, type of dust, condition of carpets and ducts, and your deadline all affect the right choice.
Professional service is especially helpful when dust has traveled beyond the work zone, when the property must be ready for move-in or inspection, or when you need multiple surfaces cleaned without coordinating several providers. A trained team can address detailed surface cleaning alongside carpet, upholstery, rug, and air duct services as needed.
For property managers and business owners, a professional cleanup can also reduce downtime. Instead of asking staff or tenants to handle heavy dust, you can prepare the property for the next resident, employee, or customer with a clearer plan and more reliable results.
DMV Dream Clean helps homeowners, renters, and businesses throughout Maryland, Washington DC, and Northern Virginia address the dust that remains after construction work, including specialty cleaning for carpets, rugs, upholstery, and indoor air systems.
Give the Space One Final Check
After cleaning, leave the room undisturbed for several hours, then inspect it in natural light or with a bright flashlight. Look along baseboards, around vents, on dark countertops, and inside drawers. If you see a new light coating of dust, perform one more targeted HEPA vacuum and microfiber wipe-down.
This second check is normal, not a sign that the first cleaning failed. Fine particles can continue settling after the initial work is done. Once the space stays clean after that final pass, you can bring furniture, belongings, and daily activity back with greater confidence.
A renovation should leave you with a better space, not a lingering cleanup problem. Taking the time to remove dust thoroughly helps protect your finishes, supports cleaner indoor air, and lets you enjoy the results of the project the way you planned.