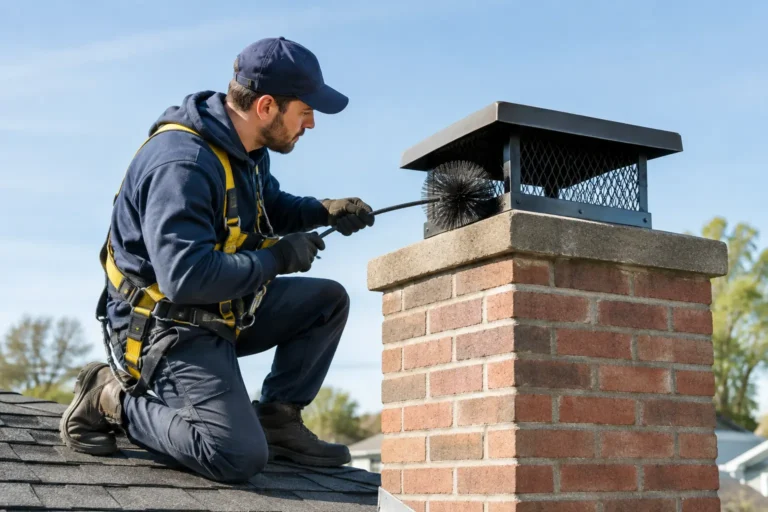
A dryer that takes two or three cycles to finish a normal load is not just frustrating. It can be a warning that lint is restricting airflow where you cannot see it. Learning how to clean dryer vents helps protect your dryer, reduce wasted energy, and lower a serious fire risk in your home or business.
Lint is highly flammable, and every load of laundry sends fine fibers through the vent system. The screen inside the dryer catches some of that lint, but not all of it. Over time, buildup can collect in the transition hose, wall duct, exterior hood, and long runs of venting that travel through ceilings, crawl spaces, or exterior walls.
Signs Your Dryer Vent Needs Cleaning
A dryer vent should be cleaned regularly, but the system will often give you clear signs when airflow is already restricted. If clothes feel unusually hot, the laundry room becomes humid, or you notice a burning smell while the dryer runs, stop using the appliance until the cause is checked.
Other common warning signs include longer drying times, a dryer that feels hot to the touch, lint collecting around the dryer or exterior vent opening, and a vent flap outside that barely moves when the dryer is operating. For gas dryers, improper venting can create additional safety concerns because combustion gases must be exhausted outdoors.
Do not assume a clean lint screen means the vent is clear. A screen can look spotless while a heavy blockage sits several feet down the line.
What You Need Before You Start
For a short, accessible dryer vent, basic tools can handle routine maintenance. You will need a vacuum with a hose attachment, a dryer vent brush kit with flexible extension rods, a microfiber cloth, and a screwdriver if the vent connection uses a clamp.
A leaf blower is sometimes used to push loose lint outward, but it is not the right solution for every home. It can force debris deeper into bends, disconnect weak ductwork, or create a mess indoors if the vent is damaged. A brush-and-vacuum approach gives you more control.
Before moving the dryer, make sure you have enough room to work safely. Dryers are heavy, and pulling one forward without care can damage flooring, kink the vent hose, or strain the gas connection on a gas-powered unit.
How to Clean Dryer Vents Step by Step
Start by turning off the dryer and unplugging it. If you have a gas dryer, turn off the gas supply only if you are comfortable doing so and know where the shutoff valve is located. If anything about the gas connection looks worn, loose, or damaged, leave it alone and contact a qualified professional.
Pull the dryer away from the wall carefully. Locate the flexible duct that connects the dryer to the wall vent. Loosen the clamp or disconnect the vent connection, then inspect the hose. If it is crushed, torn, heavily clogged, or made from thin plastic or foil, it may need to be replaced. Rigid or semi-rigid metal ducting is generally the safer, more durable option.
Vacuum loose lint from the dryer exhaust opening and the detached transition hose. Use your dryer vent brush to reach into the wall duct. Feed the brush slowly, turning it as you go so it loosens lint along the inner surface. Add extension rods as needed, but avoid forcing the brush around a sharp bend. Too much pressure can separate duct joints inside the wall.
Pull the brush out periodically and vacuum the lint it brings back. Continue until the brush comes out relatively clean. If your vent run is long, has several turns, or leads through a roof, a basic DIY kit may not reach the full length. Cleaning only the first few feet can improve airflow, but it does not confirm the entire system is clear.
Next, go outside and inspect the exterior vent cover. Remove visible lint, leaves, bird nesting material, or other debris from around the opening. The flap should open freely when the dryer runs and close when it is off. Do not install a screen over a dryer vent hood. Screens can catch lint quickly and create the same blockage you are trying to prevent.
Reconnect the vent hose securely, making sure it is not kinked or crushed behind the dryer. Push the appliance back slowly, leaving enough space so the hose can maintain a smooth path. Restore power, then run the dryer on an air-only or low-heat setting for a few minutes. Check outdoors to confirm that air is moving strongly through the exterior hood.
Clean the Lint Screen and Dryer Area Too
The vent line is only part of the job. Clean the lint screen after every load, but give it a deeper wash occasionally. Dryer sheets and fabric softener can leave a nearly invisible coating that reduces airflow through the mesh.
Wash the screen with warm water, mild dish soap, and a soft brush. Rinse it well and let it dry completely before reinstalling it. While the screen is out, vacuum the lint trap cavity using a narrow attachment. Be gentle around internal components, and do not insert tools so far that they damage the dryer.
Also vacuum behind and beneath the appliance. Lint on the floor, around the plug, or near the gas line is a housekeeping issue that can become a safety issue when heat is involved.
When DIY Dryer Vent Cleaning Is Not Enough
Knowing how to clean dryer vents is useful, but there are times when professional service is the safer and more effective choice. Long vent runs, rooftop exits, shared commercial laundry systems, and vents routed through difficult areas often require specialized equipment and experience.
Call for professional dryer vent cleaning if you cannot reach the full duct, airflow is still weak after cleaning, the dryer continues overheating, or you suspect a disconnected or crushed vent behind a wall. A professional can inspect the full path, remove compacted lint, identify damaged connections, and check whether the vent route is creating unnecessary restrictions.
This matters especially in condos, apartments, rental properties, and commercial spaces. Property managers may need documentation, coordinated access, or a more complete inspection when multiple units share similar vent layouts. Business owners should also consider how dryer downtime, fire risk, and inefficient energy use affect operations.
How Often Should You Clean a Dryer Vent?
Most households benefit from a professional dryer vent cleaning about once a year. However, the right schedule depends on the length and design of the vent, how often the dryer is used, the number of people in the household, and whether you regularly dry items that shed lint, such as towels, blankets, pet bedding, or work uniforms.
A large family may need service more often than a one-person household. The same is true for short-term rentals, salons, gyms, laundromats, and any business that runs dryers frequently. If drying times begin creeping up between scheduled cleanings, treat that as a reason to inspect the system rather than waiting for the next annual visit.
Keep the Vent Clear Between Cleanings
Small habits make a meaningful difference. Empty the lint screen after every load, avoid overloading the dryer, and check the exterior hood a few times each year. Keep the area behind the dryer clear so the vent hose is not compressed when the appliance is moved.
Never run a dryer with a disconnected vent, and never vent it into an attic, crawl space, garage, or indoor room. Moisture and lint need to exit outside. Indoor venting can contribute to mold, poor air quality, and avoidable cleanup issues.
A clean dryer vent is one of those home maintenance tasks that is easy to postpone because most of the problem is hidden. A little attention now can help your dryer work better, protect your property, and give your household greater peace of mind. If the vent is difficult to access or you want the confidence of a full-system cleaning, DMV Dream Clean can help you schedule professional service quickly.